Microsoft
How To Invite External Users Using Microsoft Flow and Microsoft Graph API

Timlin recently helped a customer automate the creation of new SharePoint site collections designed for external sharing. Prior to our work, the client had a number of manual steps that included completing a PDF form, manually logging and tracking the request, spinning up the site and associated security, and manually inviting the external users. With the new automated process, the client simply fills out a Power Apps form that allows them to specify email addresses for the external access, and all the remaining steps are fully automated.
When looking for the underlying solution to automate this process, we decided on Microsoft Graph API. We needed to be able to authenticate with Microsoft Graph API and execute actions against it via Microsoft Flow. We have used this for many of our solutions, and in this post, we will detail just what is needed to authenticate with Microsoft Graph API and how to use its Invite API to invite guest users to your tenant.
Setting Up an Azure AD App Registration
The main requirement for this process to work is the Azure Active Directory App Registration. This App Registration serves as the authentication handshake between Microsoft Flow and Microsoft Graph API. You will need an elevated level of privilege to create the app registration and assign it the permissions we need in this example.
First, navigate to your Azure Portal (https://portal.azure.com) and click on Azure Active Directory.
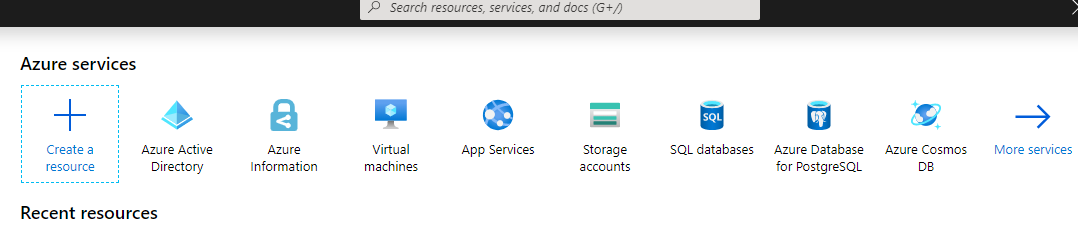
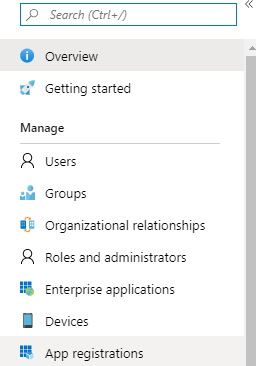
If Azure Active Directory is not present in your quick links section, simply search for it and click on it from there. Next, navigate to “App Registrations” on the left-hand navigation menu and then “New Registration”.

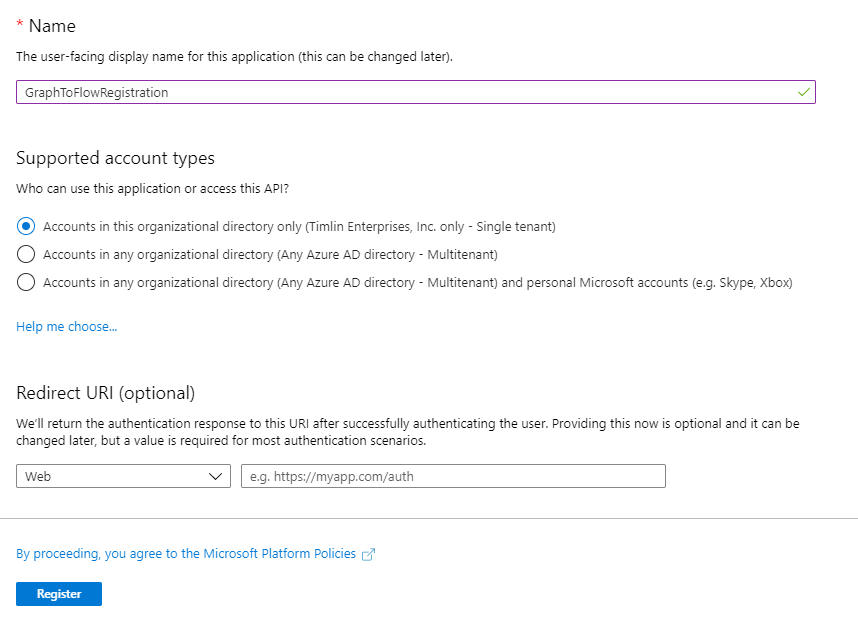
You can name this Registration whatever you’d like, leave the rest of the settings as they stand and click “Register”.
Authentication and Permissions for our Azure AD App Registration
Now that we have our App Registration created, we need to setup two things: our App Secret and the required App Permissions.
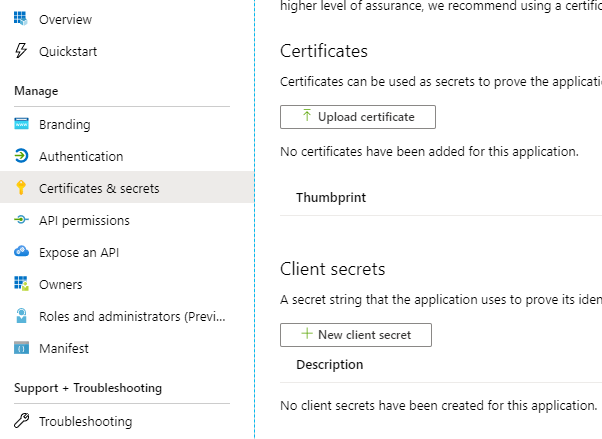
First, navigate to “Certificates & secrets” and click on “New Client Secret”.
We can call our Secret anything we’d like. In this instance, we’ll just name it “Secret”. The expiration date is up to you but keep in mind if you select an expiration date other than “Never” that you will need to update this Secret key down the line in order for your functionality to continue working.
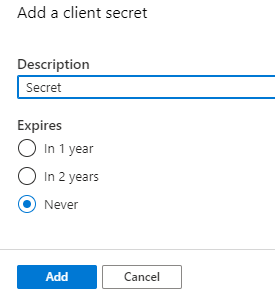
You should now have a Secret key appear. Make sure to copy and save the key somewhere safe as you will only see it this one time.

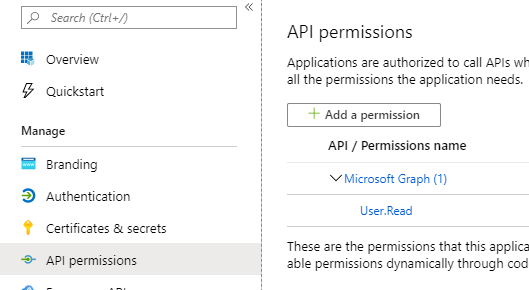
Next, we need to give our App Registration a single permission called “User.Invite.All”. This gives the App Registration access to invite guest users to our tenant. To do so, navigate to “API Permissions” and click on “Add a Permission”.
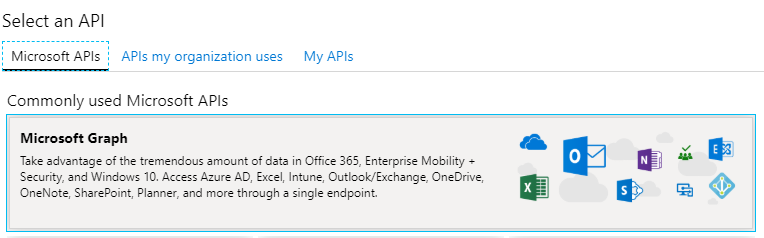
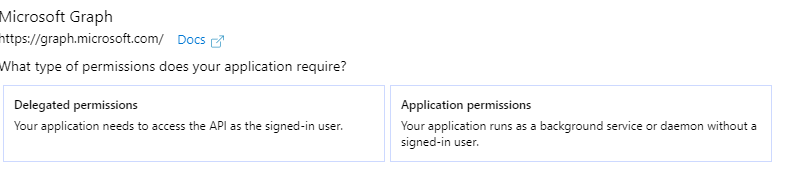
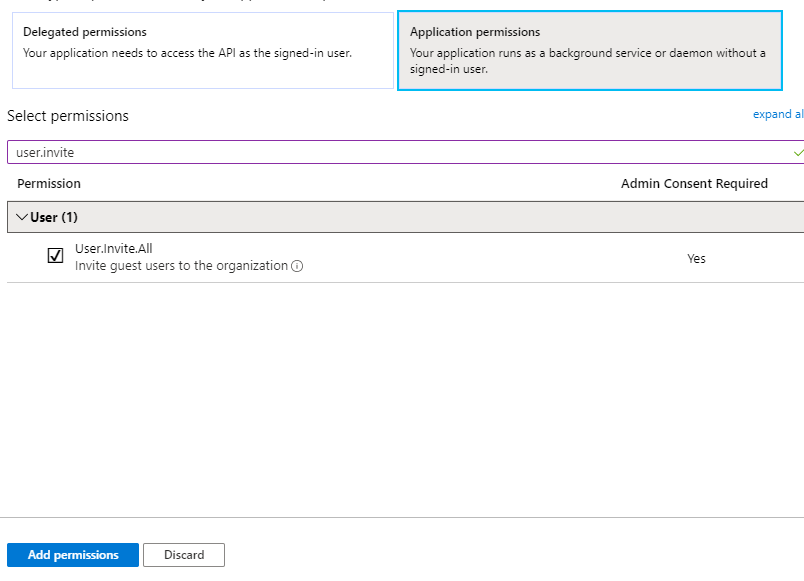
In the now visible pop-up menu, click on “Microsoft Graph” followed by “Application permissions”.
If we now search for “User.Invite”, we will see our required permission. Check it off and click “Add permissions”.
Lastly, we need to grant the permission itself to the Application. To do so, click on the “Grant admin consent” button found at the bottom of the screen. If this is greyed out for you, it means that you do not have admin permission on your tenant to execute this action.

Setting Up Our Microsoft Flow
Now that we have our App Registration setup, we can create our Flow that will invite external users to our tenant. Be sure to keep our App Registration up in a separate window/tab as we will need some information from this shortly.
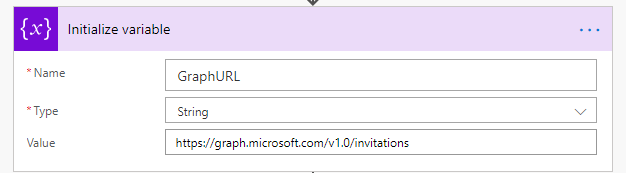
Our Flow consists of only two actions and a trigger. For now, we’ve set this up to be on a manual trigger, but you can always alter this for your needs. The two actions are an “Initialize Variable” action and an “HTTP” action (the HTTP action does appear as a Premium action but is available with appropriate licensing). The Initialize action will simply hold the Graph API invitation’s URL.
Next, our HTTP action will consume our GraphURL variable and build the JSON Body that we will send to the Graph Invite API.

Each property we specified in the Body is detailed below:
- Invited User Email Address – The email address of the external user we will be inviting
- Invite Redirect URL – The URL the external user will be redirected to once accepting the invitation
- Send Invitation Message – If set to false, the user will not receive their invitation email, but they will still be added into Azure AD. If set to true and no Customized Message Body is sent, the default invitation email will be sent to the external user.
- Invited User Message Info and Customized Message Body – This allows for you to send a customized invite message to the user. This object is optional.
Next, we need to take care of authentication on this HTTP call. Click on “Show advanced options” to reveal the authentication options.
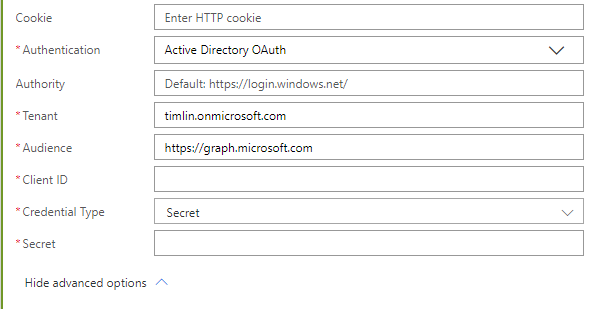
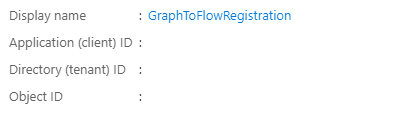
In your example, replace the first part of the tenant URL with your tenant name. For Client ID, this can be found in your newly created App Registration on the Overview page.
Next, select “Secret” for “Credential Type” and paste in the Secret you saved from earlier in the field labeled “Secret”.
You’re Finished!
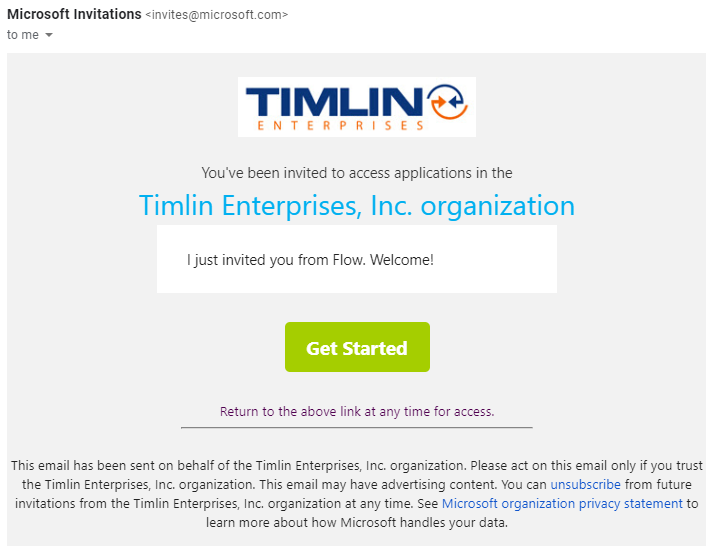
With this, the Flow should be fully configured and ready to go. If you run the Flow, you should be presented with the following email upon completion in the inbox you specified. The user will have a guest user profile generated in your tenant’s Azure Active Directory. Within 5 to 10 minutes after this invitation, the user will also have a SharePoint User Profile created as well.
Let us know if you have any questions on this process or would like us to help you set it up.